Contents
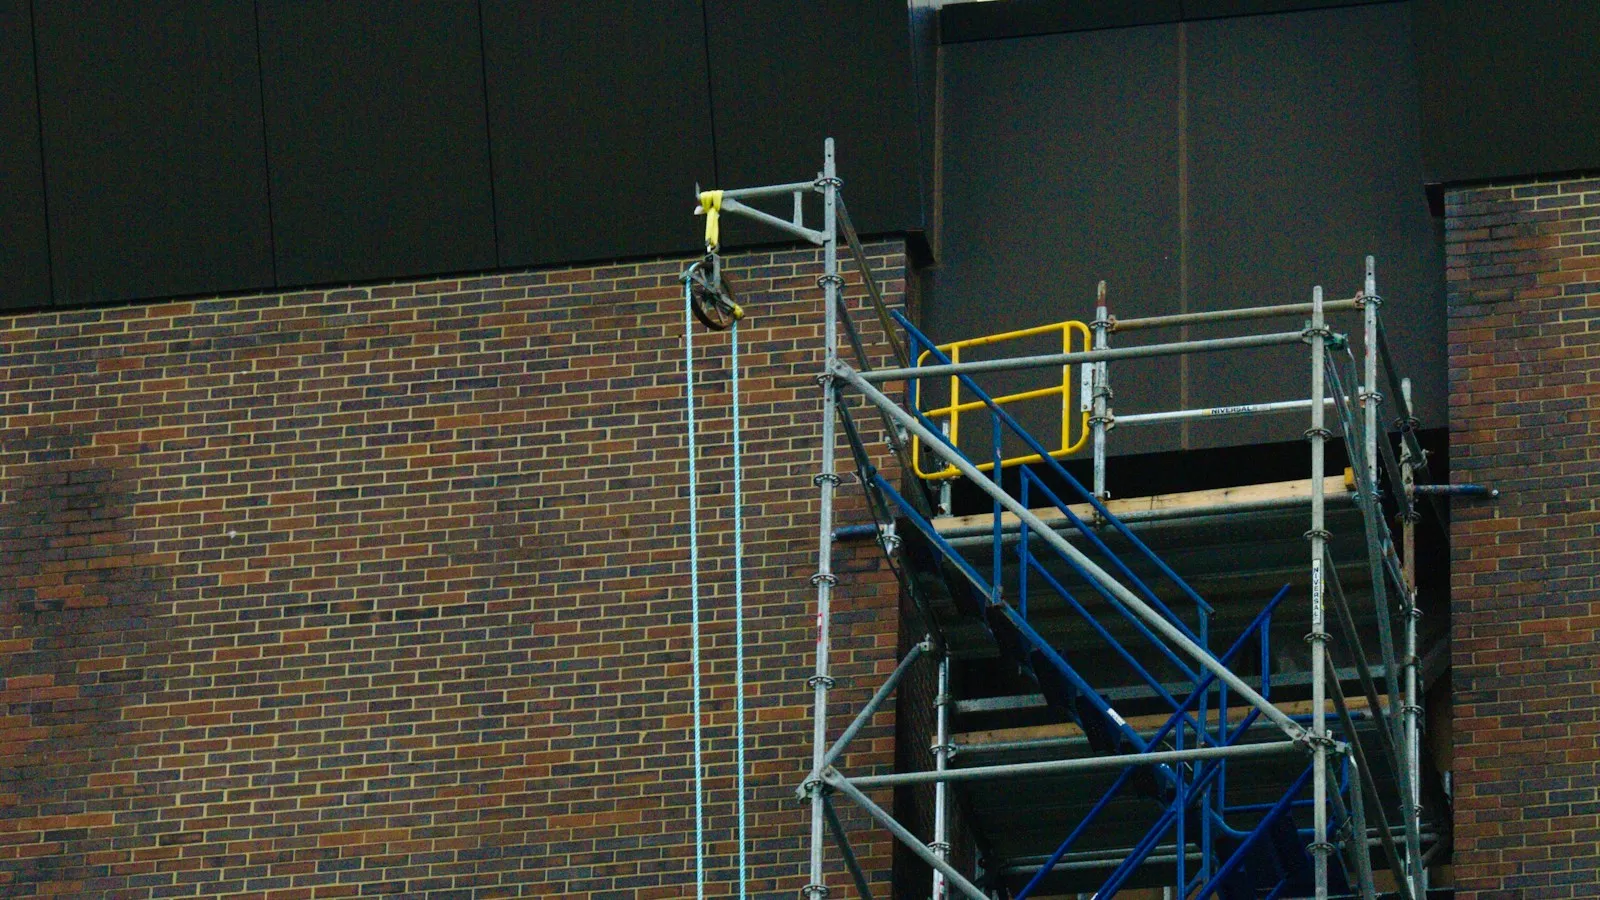
Short answer. The cost of insulating a facade depends not only on insulation thickness but on the whole system: substrate preparation, adhesive and anchors, insulation boards, a reinforcement layer, render or cladding, and the junctions at windows, the plinth and the roof. Junctions and scaffolding make up a large share of the work. RigaBuild’s indicative starting prices are from €55/m² for building insulation and from €30/m² for facade works (valid on 30 October 2026, excluding VAT, labour only). Materials are a separate part of the estimate. An exact price can be set after the facade has been inspected and the system chosen.
Key points
- Insulation is a system — layers must be compatible and installed to the manufacturer’s method.
- A damp wall must not be wrapped up — fix the source of moisture first.
- Window, sill, plinth and roof junctions are where most defects appear.
- Energy savings can only be estimated with a calculation for the specific building.
What an insulation estimate is made of
| Item | What it covers | What drives the quantity |
|---|---|---|
| Scaffolding and access | Erection, dismantling, protective netting | Building height, surroundings, duration |
| Substrate preparation | Cleaning, repairing damage, priming | Wall condition, old finish |
| Insulation | Bonding, anchoring, fitting boards | Material, thickness, area |
| Reinforcement layer | Base coat with mesh, corner and opening reinforcement | Area, number of corners and openings |
| Finish | Render, paint or other finish | System, texture, colour |
| Junctions | Windows, sills, plinth, roof junction, balconies | Number and complexity of junctions |
| Flashings and trims | Window sills, plinth trims, rainwater elements | Number of windows, facade shape |
Compare quotes line by line rather than by total — see our renovation estimate example for how to read one.
Mineral wool, EPS or a ventilated facade
| Solution | Properties | What to watch |
|---|---|---|
| Rendered system (ETICS) with mineral wool | Non-combustible, vapour-open | Heavier, needs accurate anchoring |
| Rendered system (ETICS) with EPS | Light, easier to install | Fire-safety requirements, moisture drying out |
| Ventilated facade with cladding | Air gap between insulation and cladding | Sub-frame, wind barrier, more junctions |
Fire-safety rules, building height and the existing wall material can also decide the choice. A designer or the system manufacturer’s technical guidance makes that assessment. Who buys the materials and how that affects the estimate is covered in who buys renovation materials.
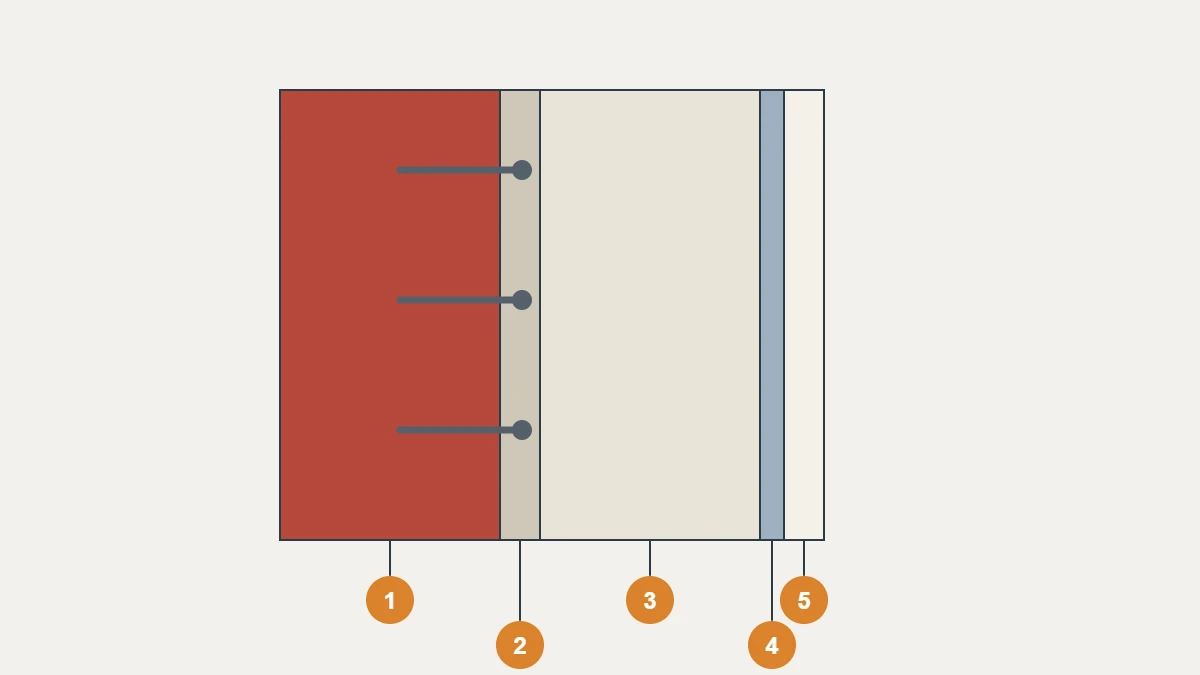
The diagram shows the layers of a rendered system: 1 — existing wall, 2 — adhesive, 3 — insulation with anchors, 4 — reinforcement layer with mesh, 5 — finishing render.
Whether to insulate from the outside or the inside, and how to avoid thermal bridges and mould, is explained in Internal or External Wall Insulation.
Substrate preparation and moisture
Before insulating, the wall is inspected for cracks, loose finish, salt efflorescence or signs of damp. If the wall is wet — for example from damaged gutters, a poor pavement edge or the plinth — insulation can trap that moisture in the wall. So the cause comes first: fix rainwater drainage, the pavement edge and the plinth waterproofing. Roof and facade junctions should be planned together; the roof estimate is covered in roof construction and repair costs.
Junctions where defects most often appear
- Window openings. Insulation should return into the reveals, and the junction with the frame must be sealed with suitable tapes or profiles.
- Sills. External sills need a fall and end caps that stop water getting behind the render.
- Plinth. The zone near the ground needs moisture-resistant insulation and splash protection.
- Roof junction. Wall insulation must connect to roof insulation to avoid a thermal bridge.
- Balconies and fixings. Brackets, lighting and other elements must be planned before the finish.
Order of works
- Inspection, facade survey and choice of system.
- Checking documents and approvals.
- Estimate, contract and schedule.
- Scaffolding, protection and substrate preparation.
- Plinth and insulation boards, anchoring.
- Reinforcement layer with mesh and reinforcement.
- Window, sill and roof junctions.
- Finishing render or cladding.
- Inspection, dismantling the scaffolding and handover with an acceptance act.
Manufacturers set temperature and humidity limits for adhesives and renders, so the season is a key part of the schedule. How to accept the work and record defects is explained in renovation handover, acceptance and warranty.
Do you need documents to insulate?
Which document is needed depends on the building group, the scope and how the work is classified. For example, sub-point 7.1 6 of Cabinet Regulation No. 529 Ēku būvnoteikumi (Building Construction Regulations) provides for a notice of construction when a second-group residential building with one or two dwellings is renovated or rebuilt without changing its volume or use (cultural monuments excepted). In apartment buildings, a decision of the apartment owners is needed and the document type may differ. If the facade colour or appearance changes, the municipality may require a colour scheme. Check your case with the building board (būvvalde) or in BIS; the overall process is described in stages of building a house in Riga.
Common mistakes
- Insulating a damp wall without fixing the cause.
- Leaving gaps between boards or filling them with adhesive.
- Skipping reinforcement at corners and openings.
- Not coordinating the facade with window, sill and roof junctions.
- Working in weather the manufacturer does not allow.
- Expecting a specific energy saving without a calculation.
Checklist before asking for a quote
- □ Building type, number of storeys and wall material.
- □ Facade area and number of windows.
- □ Condition of the existing finish and signs of damp.
- □ Preferred system and finish.
- □ Whether roof or window work is planned at the same time.
- □ Access for scaffolding and a work area.
Frequently asked questions
Which is better — mineral wool or EPS?
Each has its advantages. The choice depends on the wall material, fire-safety requirements, moisture conditions and budget.
How much can I save on heating?
That can only be estimated with a calculation for the specific building, taking walls, windows, roof and heating system into account.
Can a facade be insulated in winter?
Adhesives and renders have temperature limits, so work usually pauses in cold weather or needs special conditions. The schedule is set by the system and the weather.
Can I insulate just one side of the house?
Technically yes, but the junctions and the building’s appearance need assessing, as well as whether it matches any approvals.
To get an estimate, describe the building and add photos of the facade. For the services, see building insulation and facade works; for a wider scope, see whole-house renovation.
Sources
- Cabinet Regulation No. 529 Ēku būvnoteikumi (Building Construction Regulations) — likumi.lv / Latvijas Vēstnesis; version in force 01.10.2026–07.01.2027; points 7–7.3; accessed 30.10.2026
- Būvniecības informācijas sistēma (BIS) — Construction Information System — Būvniecības valsts kontroles birojs; e-services portal; accessed 30.10.2026
Prepared by the RigaBuild editorial team. Prices and sources checked on 30 October 2026. This article is for information only and does not replace advice from a designer, the building board (būvvalde) or a lawyer.